I first saw baby legs several years ago and I fell in love. I knew that when we were blessed with more babies- boys or girls-they would be sporting some of these cute little things.
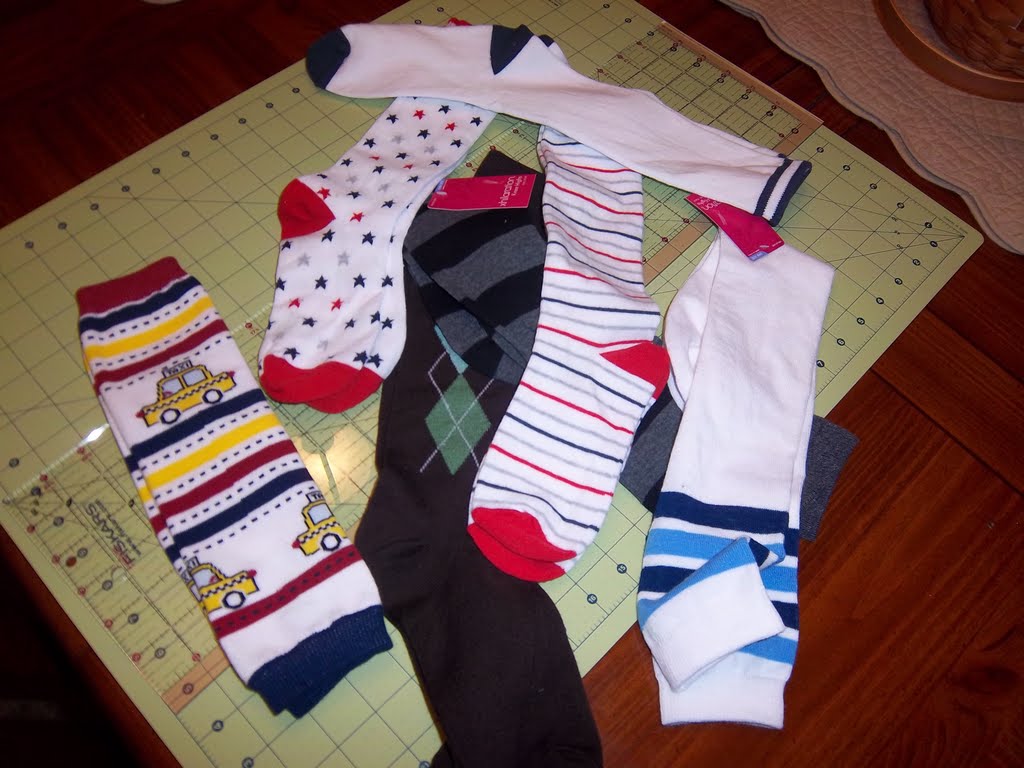
When I found out that I was expecting they went on the list of wants. I had a couple problems 1) they are not the most budget friendly 2) I like to go to stores and buys things-I haven't jumped on the online shopping bandwagon and where we live they don't just sell them in stores. Being a craft lovin' Mama, I set out to find a way to make them. After some internet searching I found that they are SUPER easy to make! Enter in the {knee high sock}. If you are making these for a girl then you will have a HUGE selection to choose from. I was having a boy. It was hard enough to convince the man of the house to let his son where these. I had to do some searching for ones that were masculine enough for our little boy. Target had several that stacked up with color and pattern.
I will say that there are SO many tutorials out there on making your own baby legs. I've tried 3 and will show you them here. If you have any questions please comment and I'll do my best to answer them :)
1) Pick out some long socks. Some are longer than others. If they are going to be for a young baby then it won't matter but the longer you get them the "longer" they will last ;)

3) Turn the tube inside out and fold over the unfinished edge. Stitch with a zig zag stitch all the way around. Don't pay attention to the fact that I did not do a zig zag stitch. I found out that it won't stretch if you don't do one. Learn from me...not the hard way! (If you want a cuff on the bottom - don't do this step and proceed to step 5)


5) Cut the middle of the foot section out. {Please ignore the sock change :) these pictures are many months apart!}


7) Stitch the raw edges all the way around. Make sure to go over your starting stitch. If you want them to taper in just add a diagonal stitch. This is what it will look like after you fold it back down.

